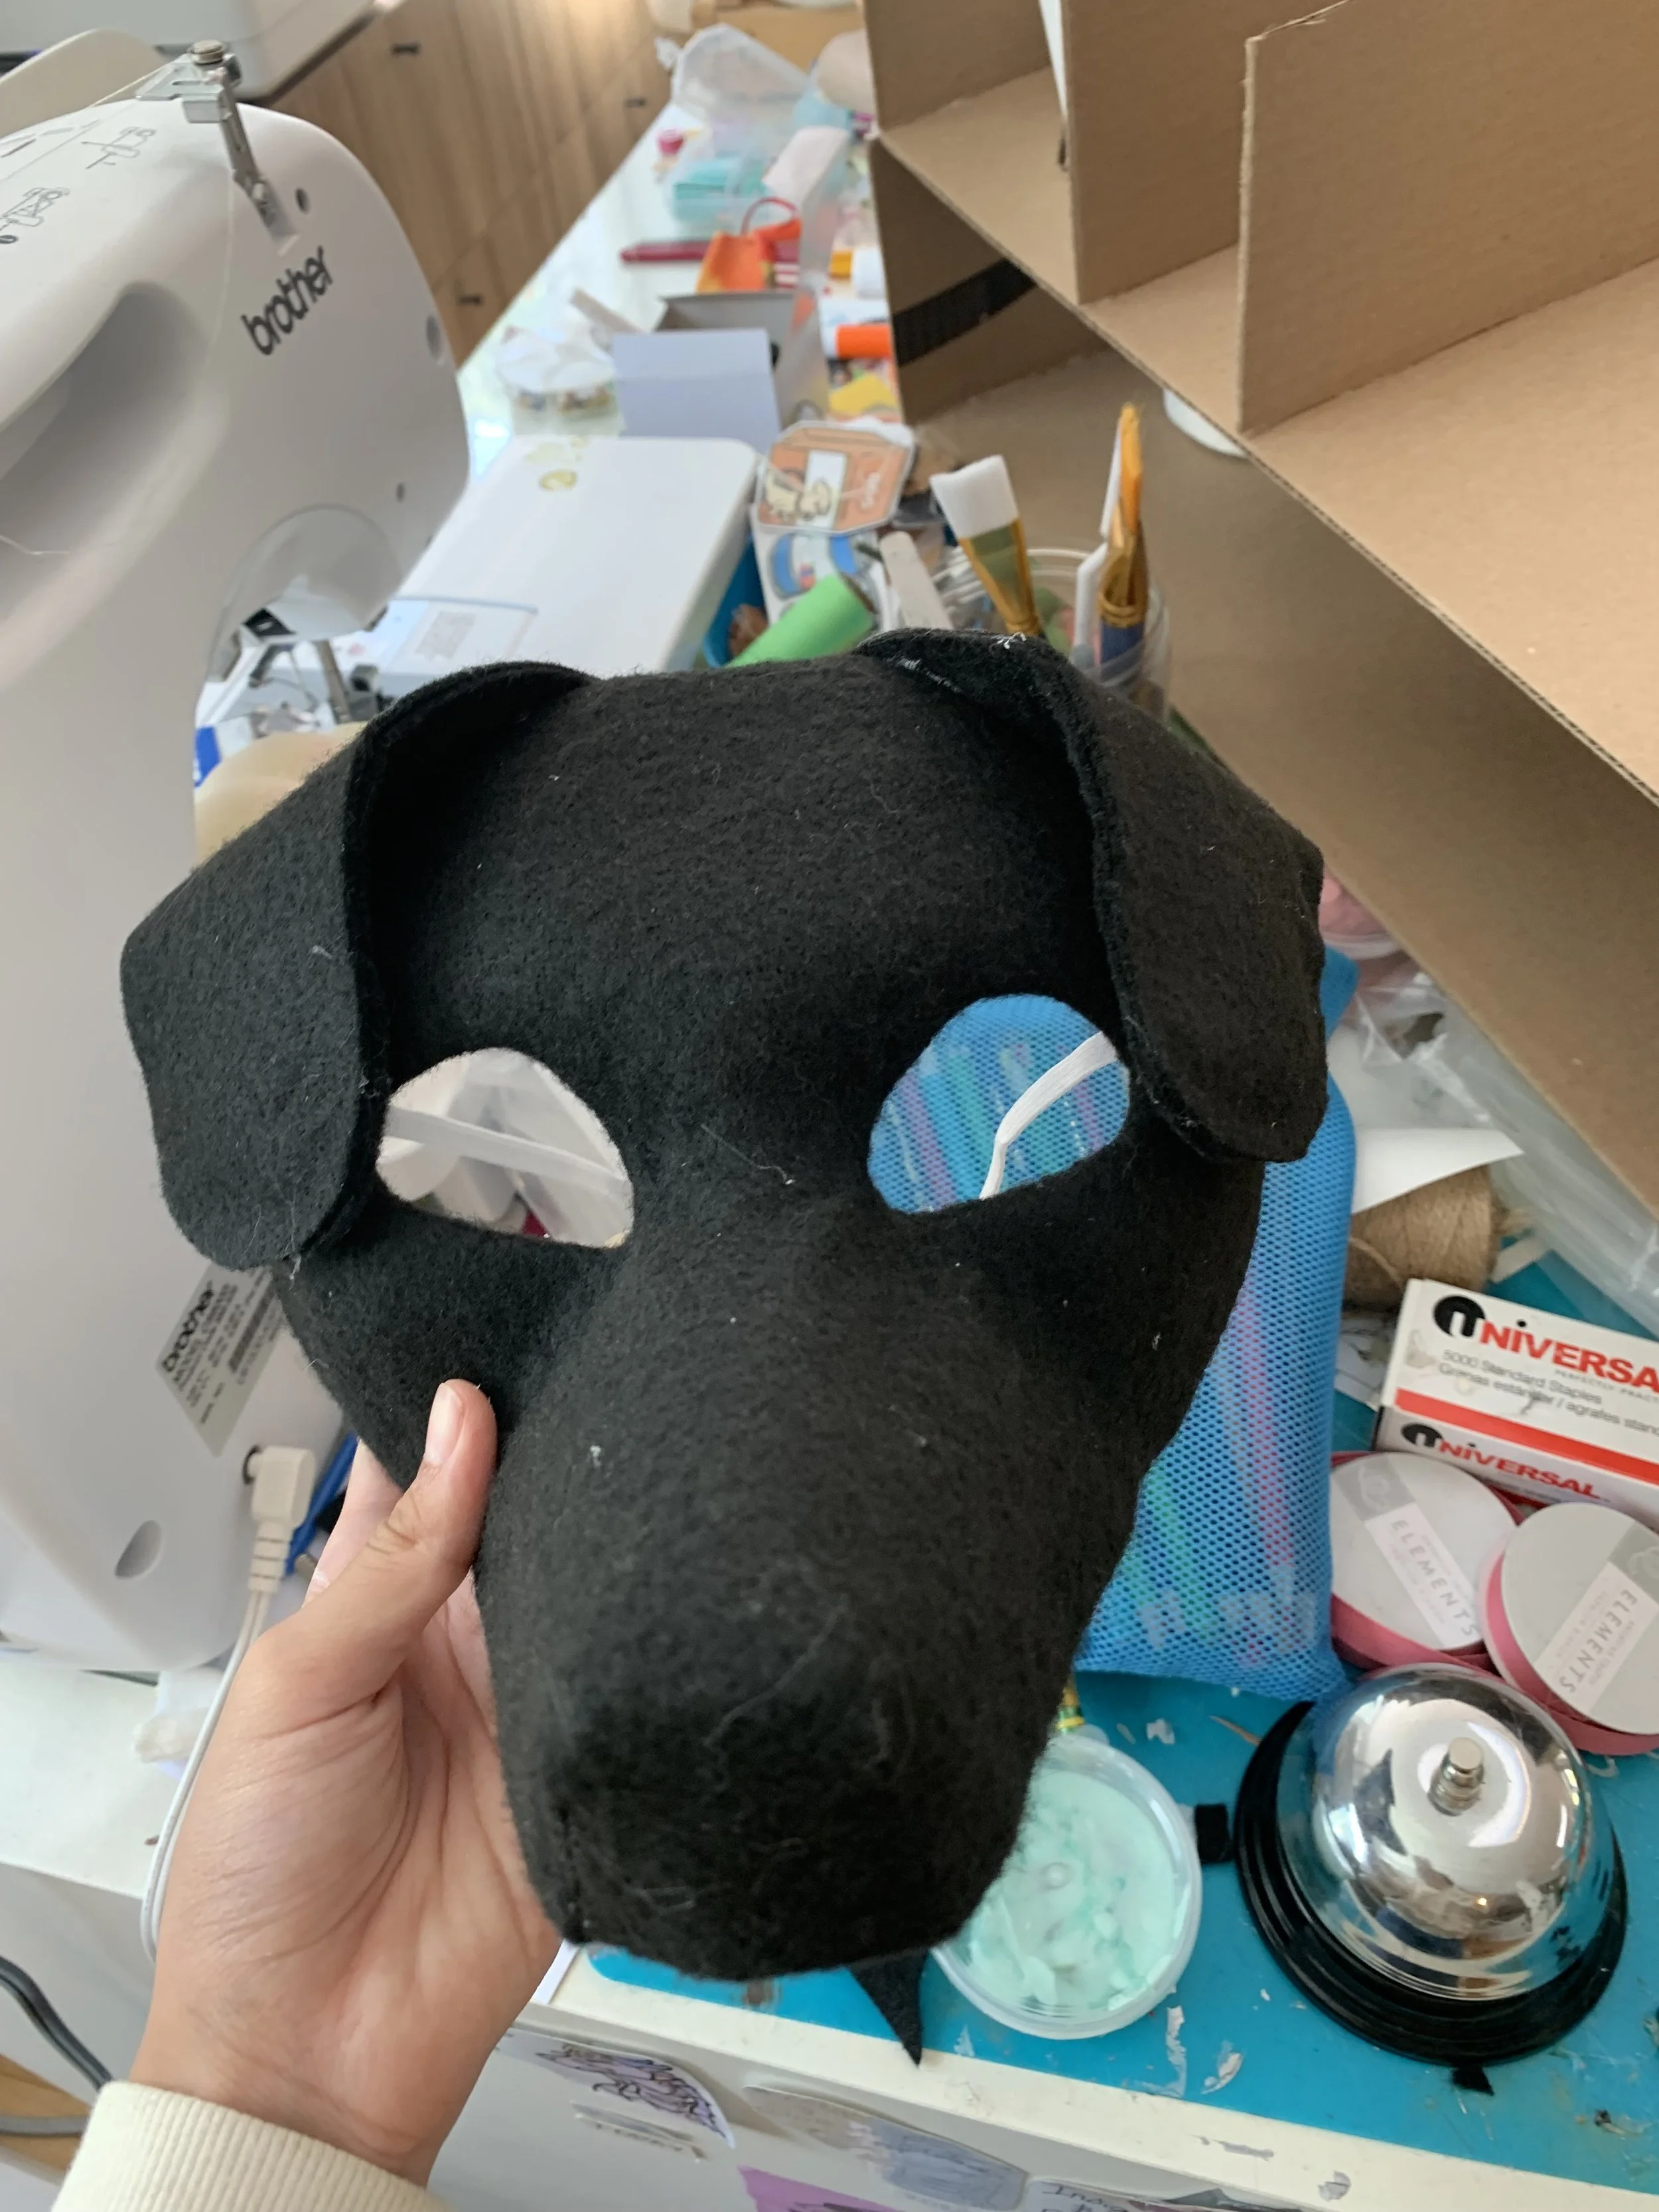
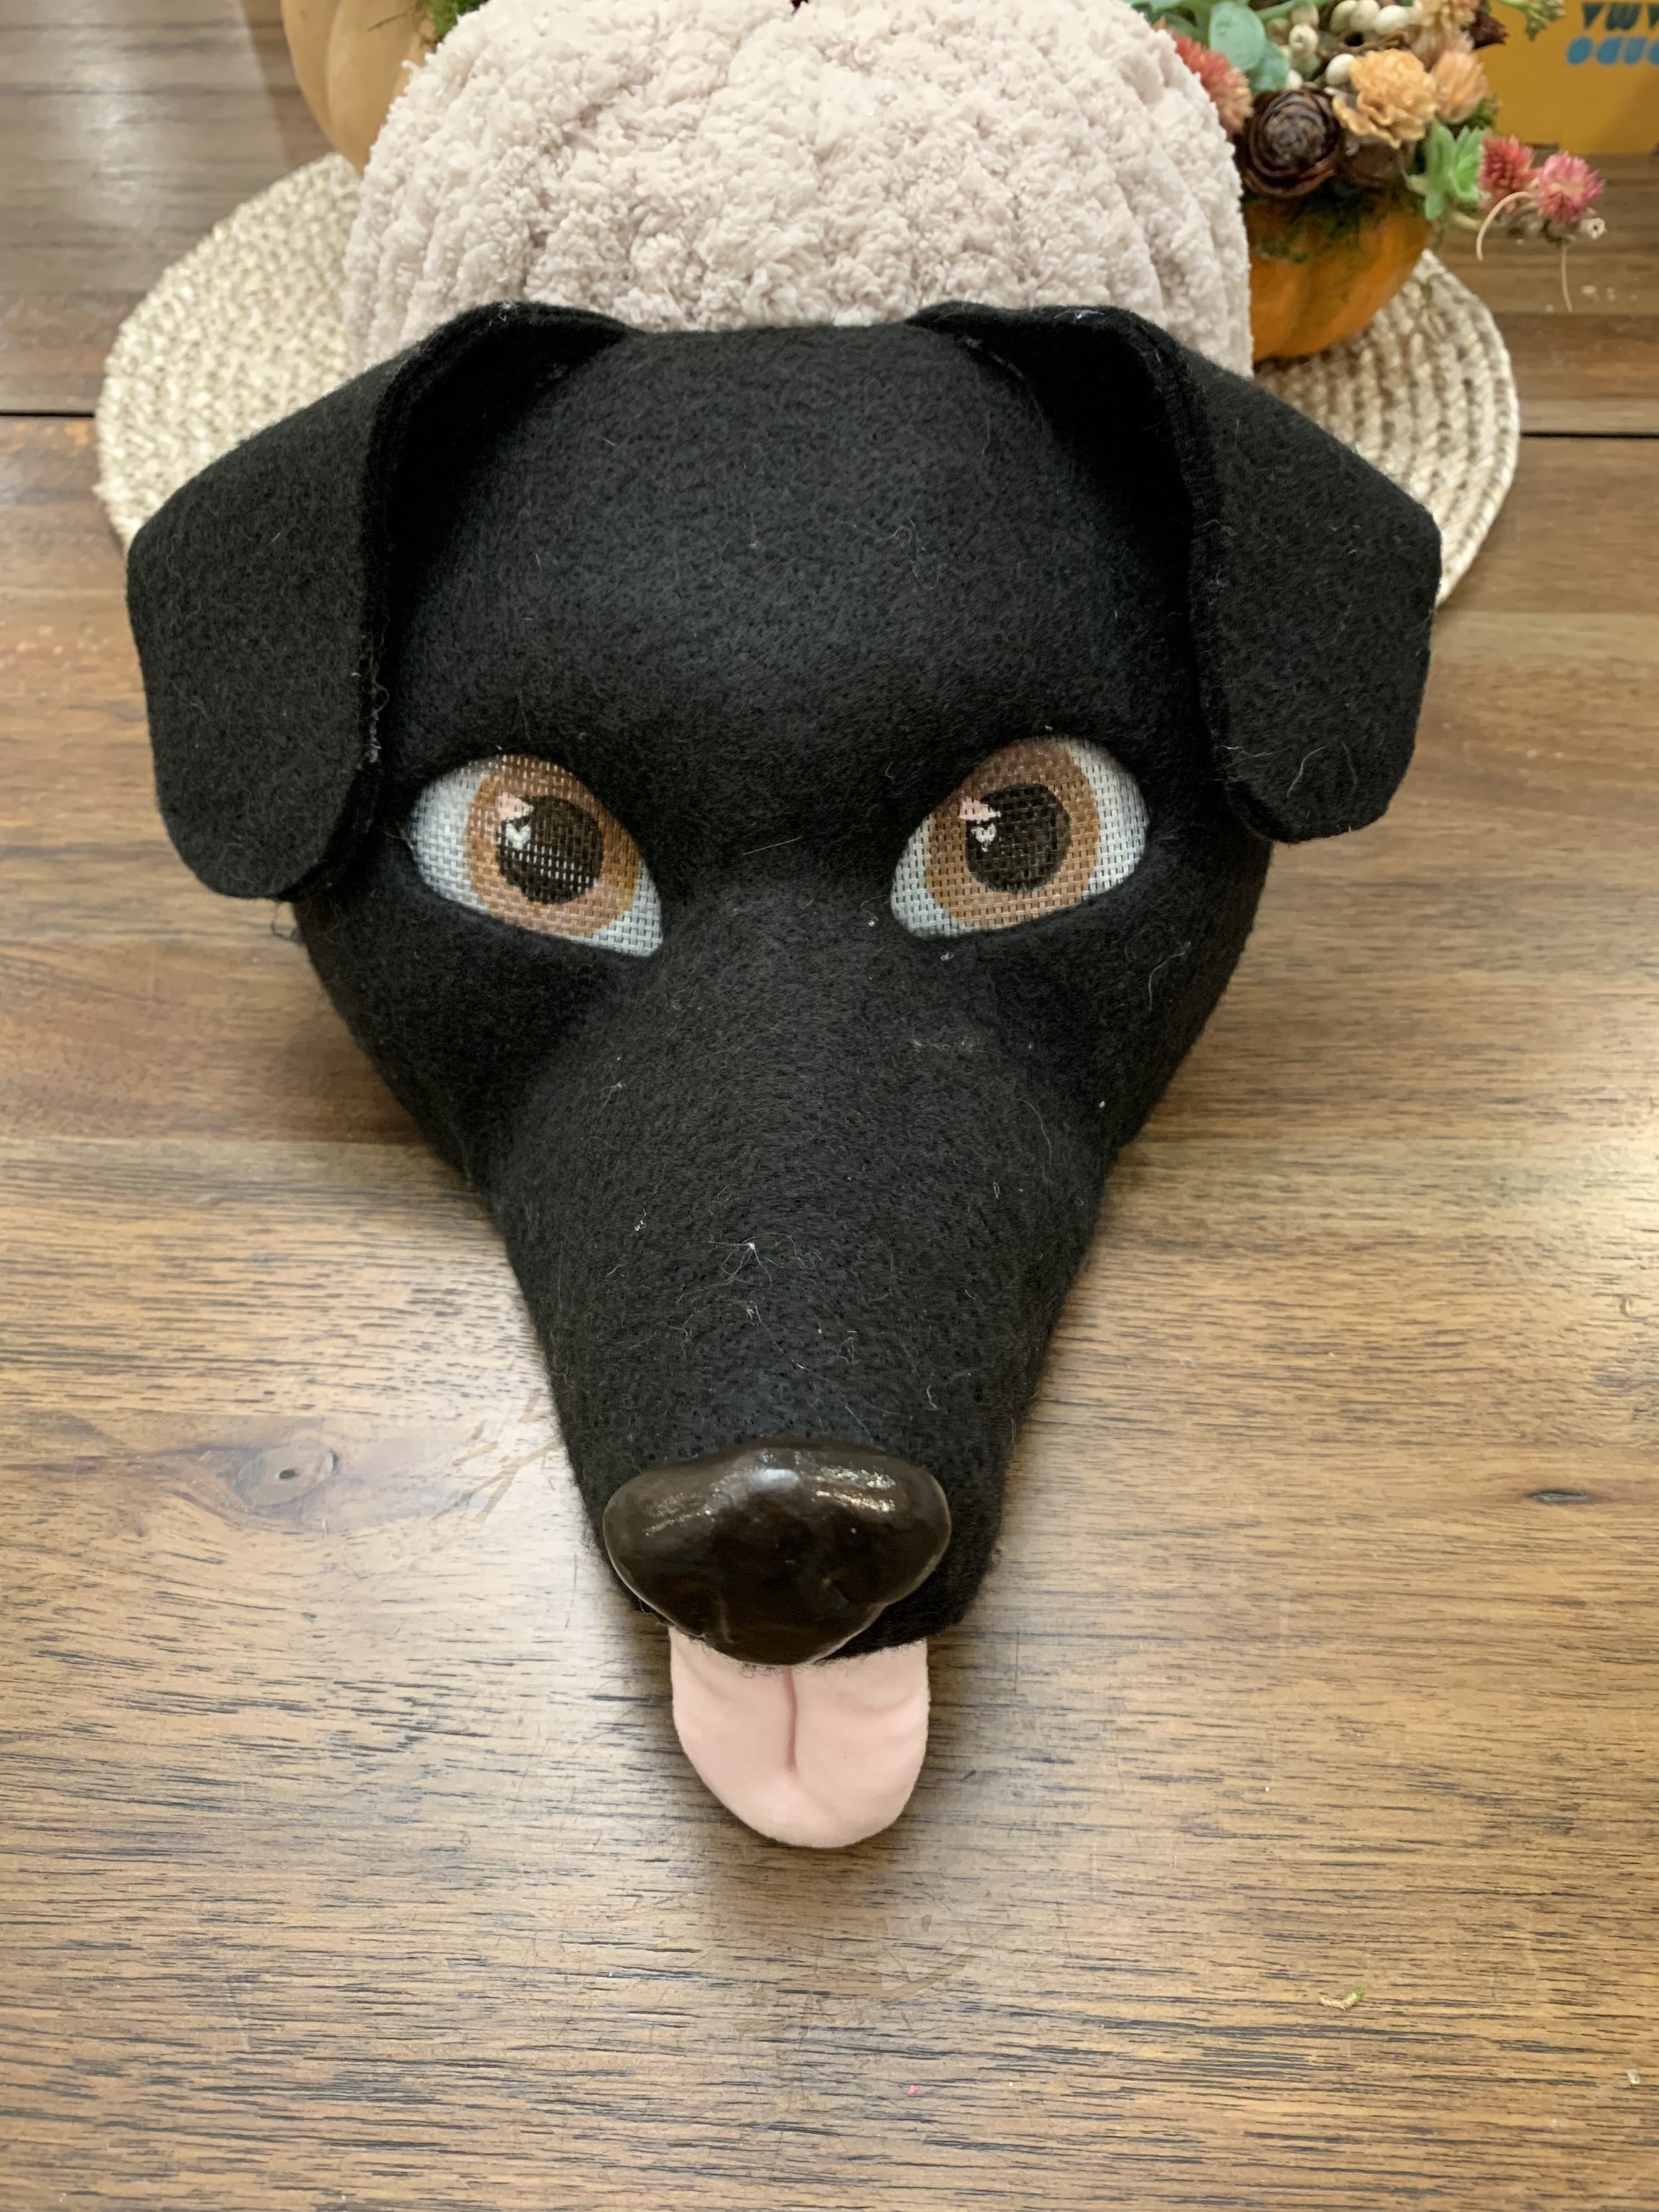
Birthday Masks
Project Process & Purpose
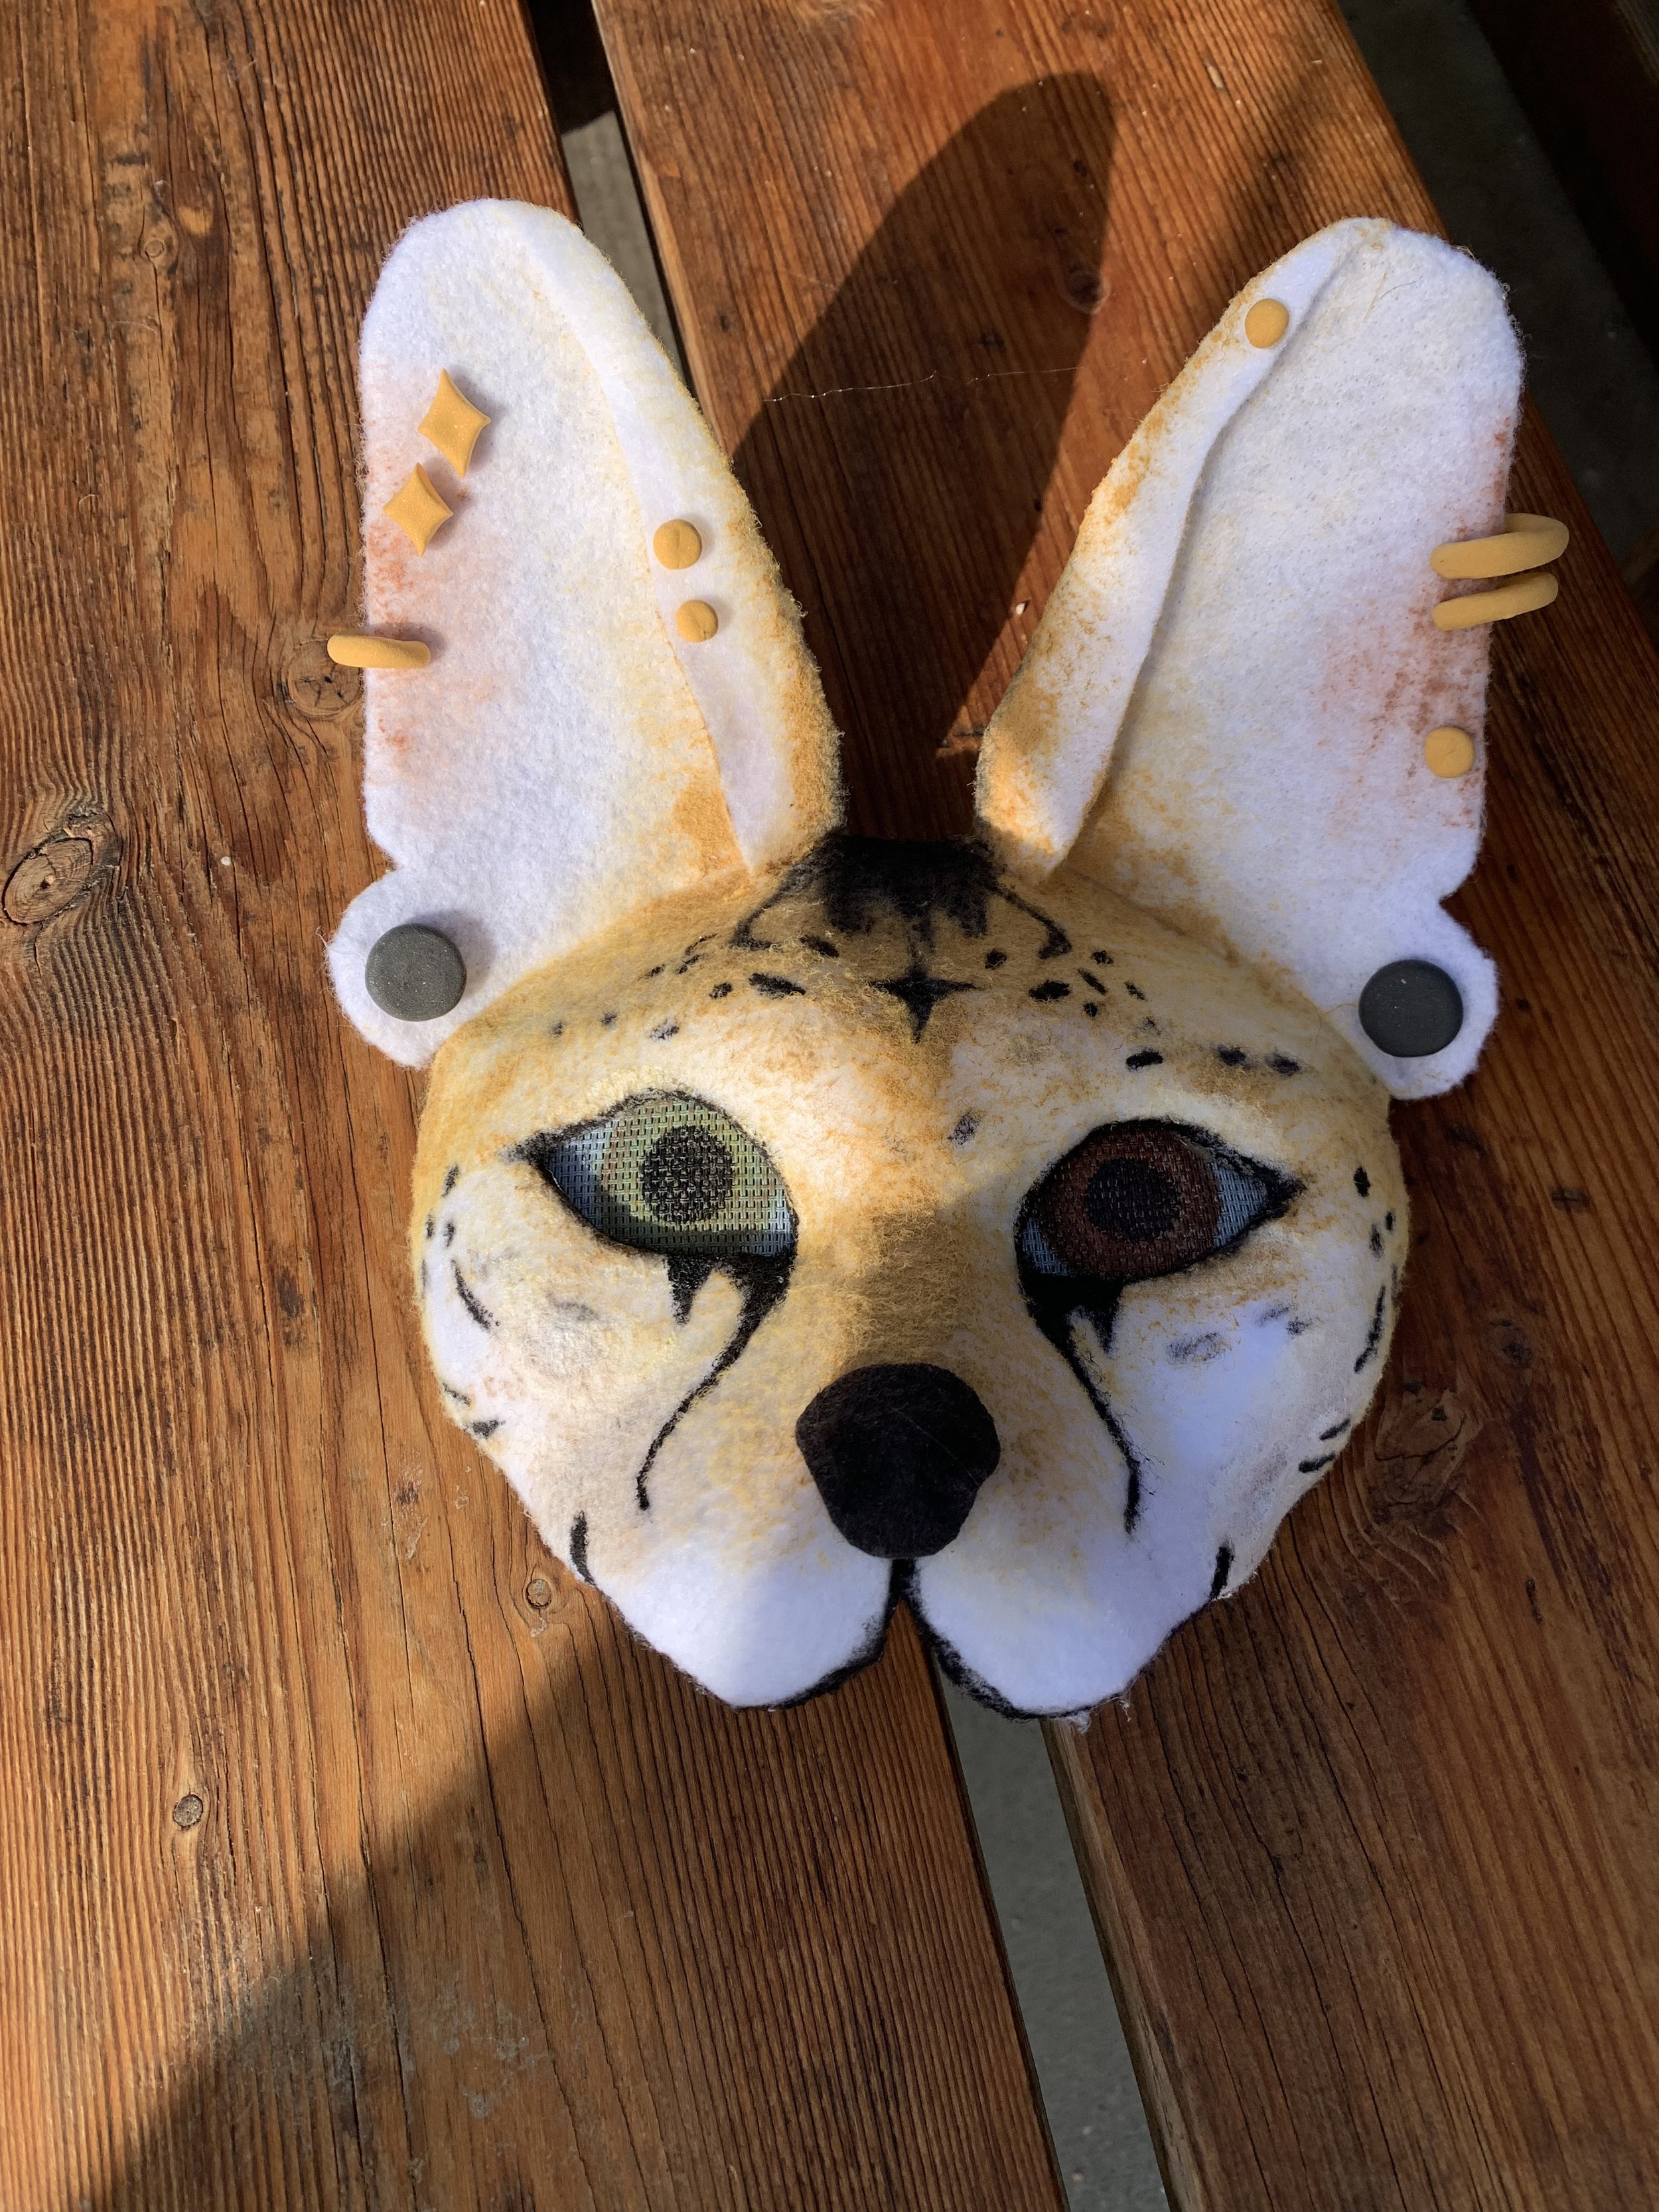
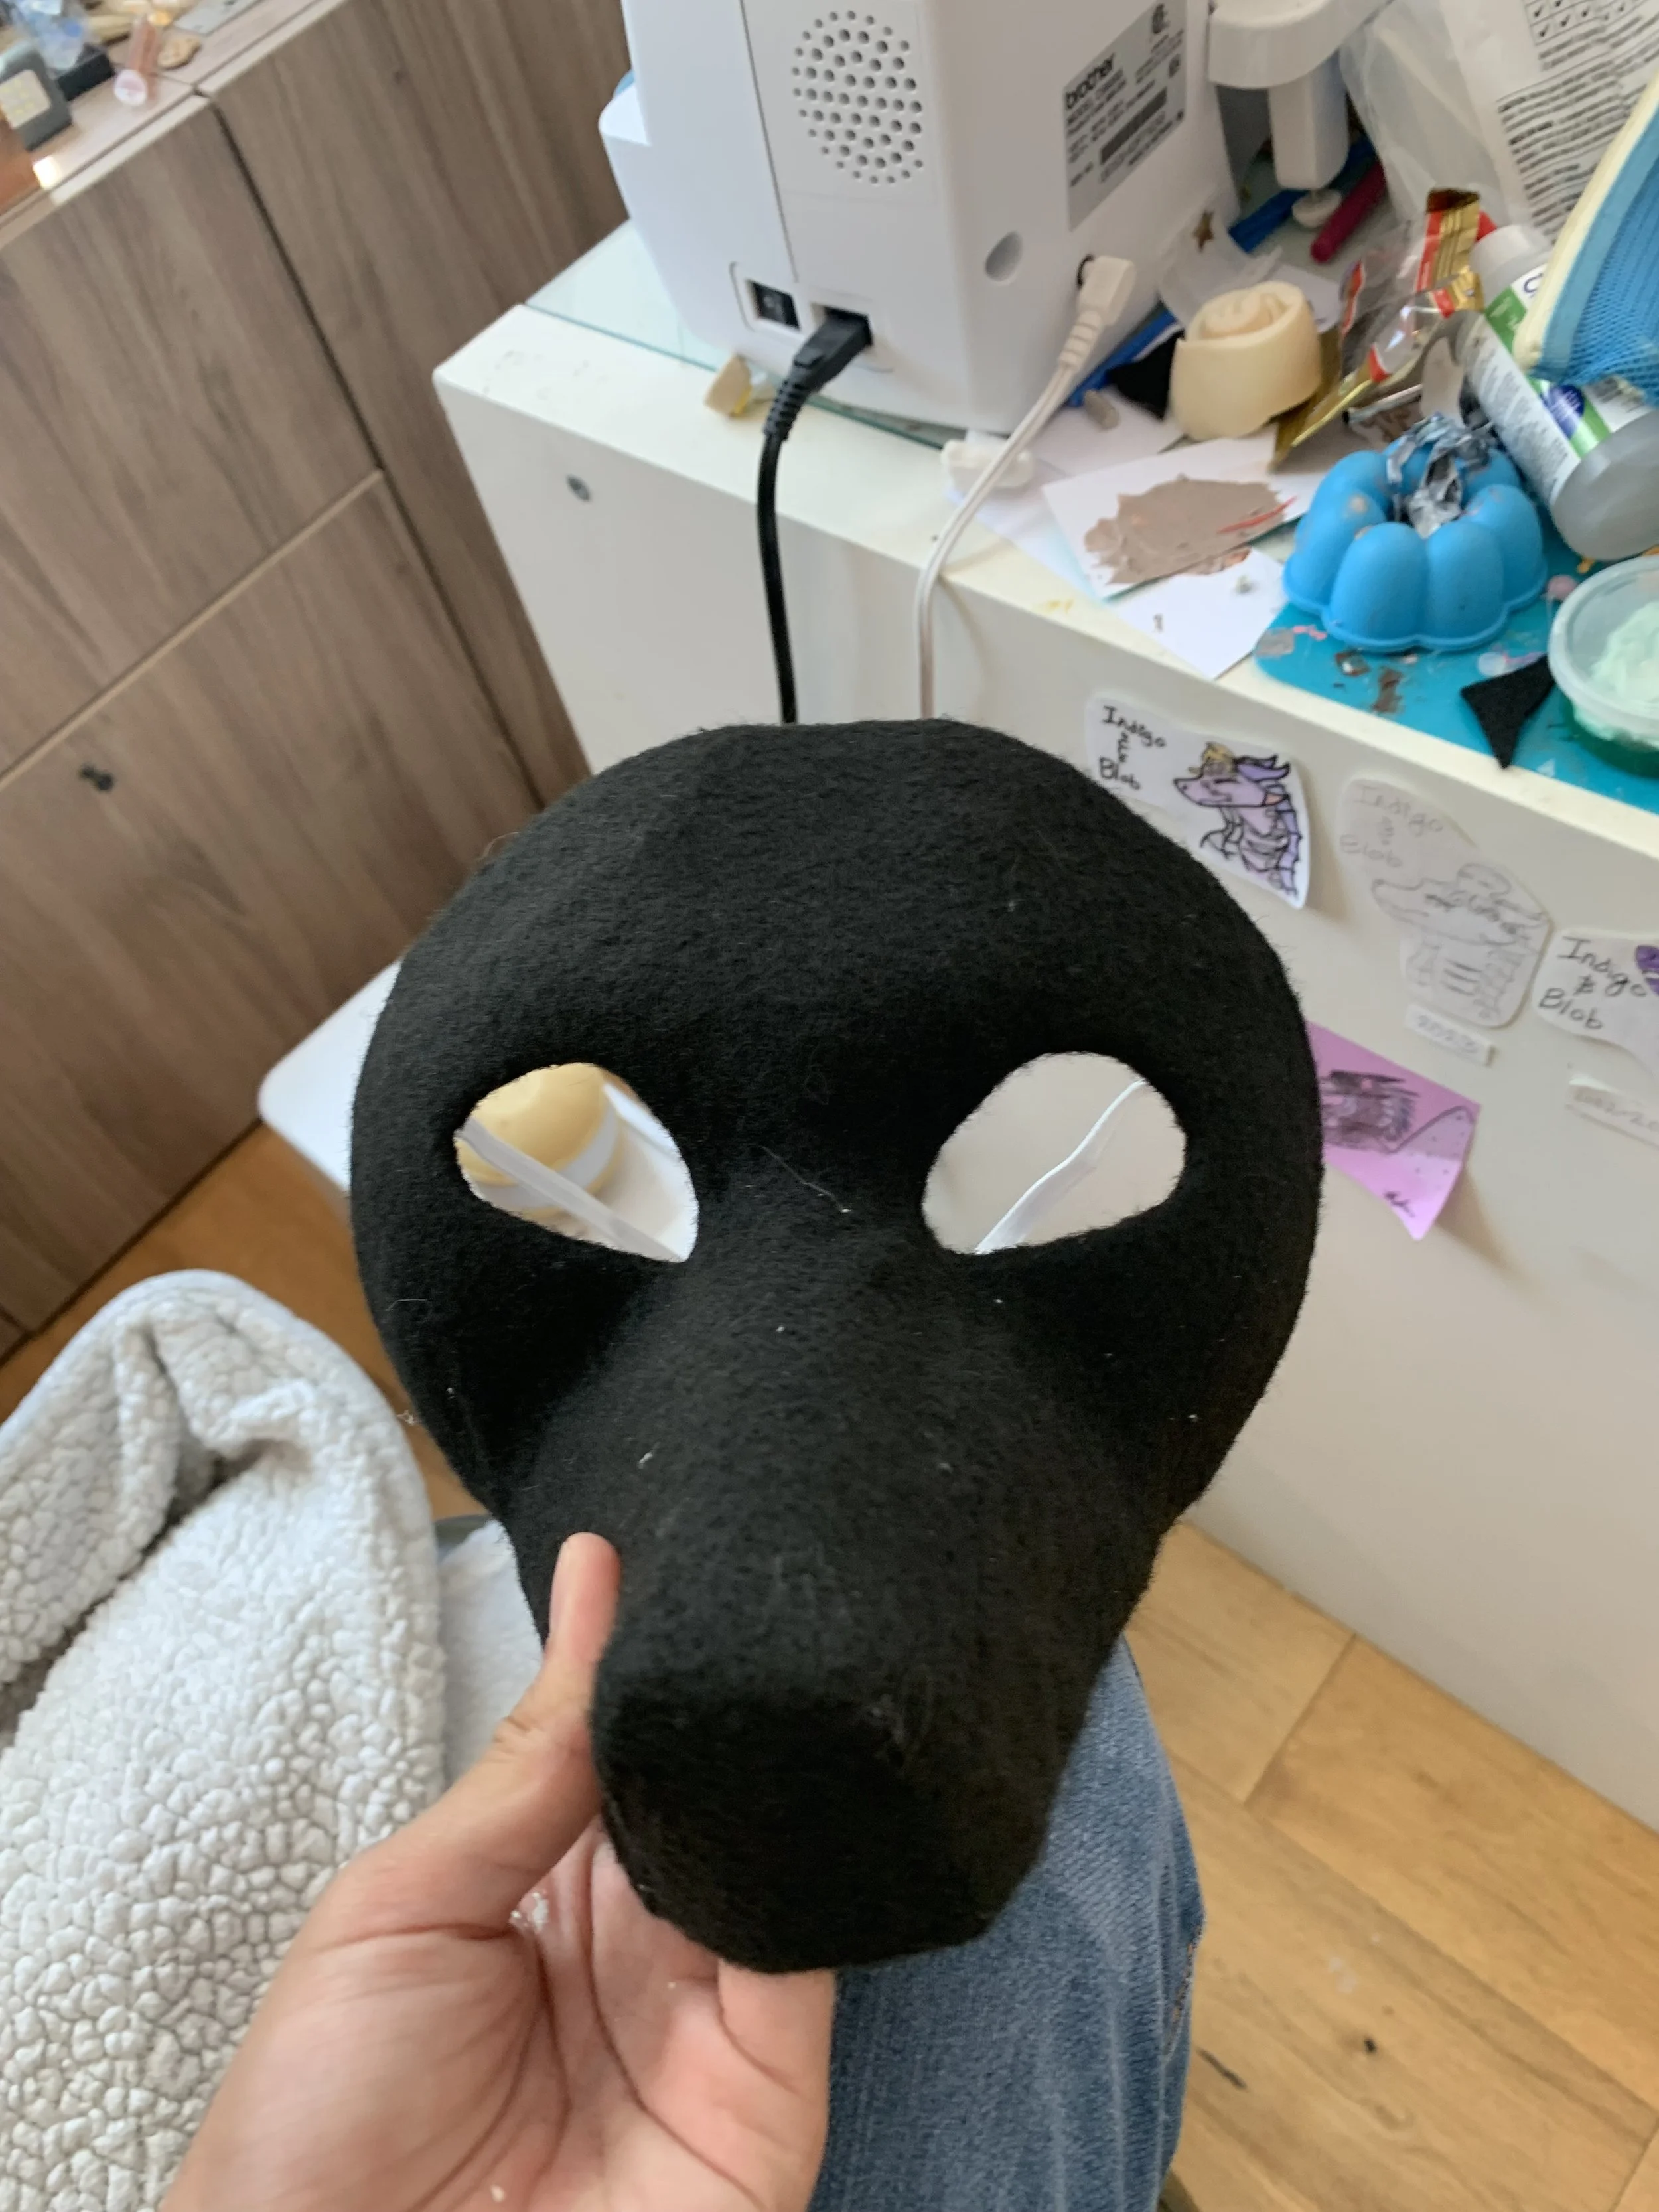
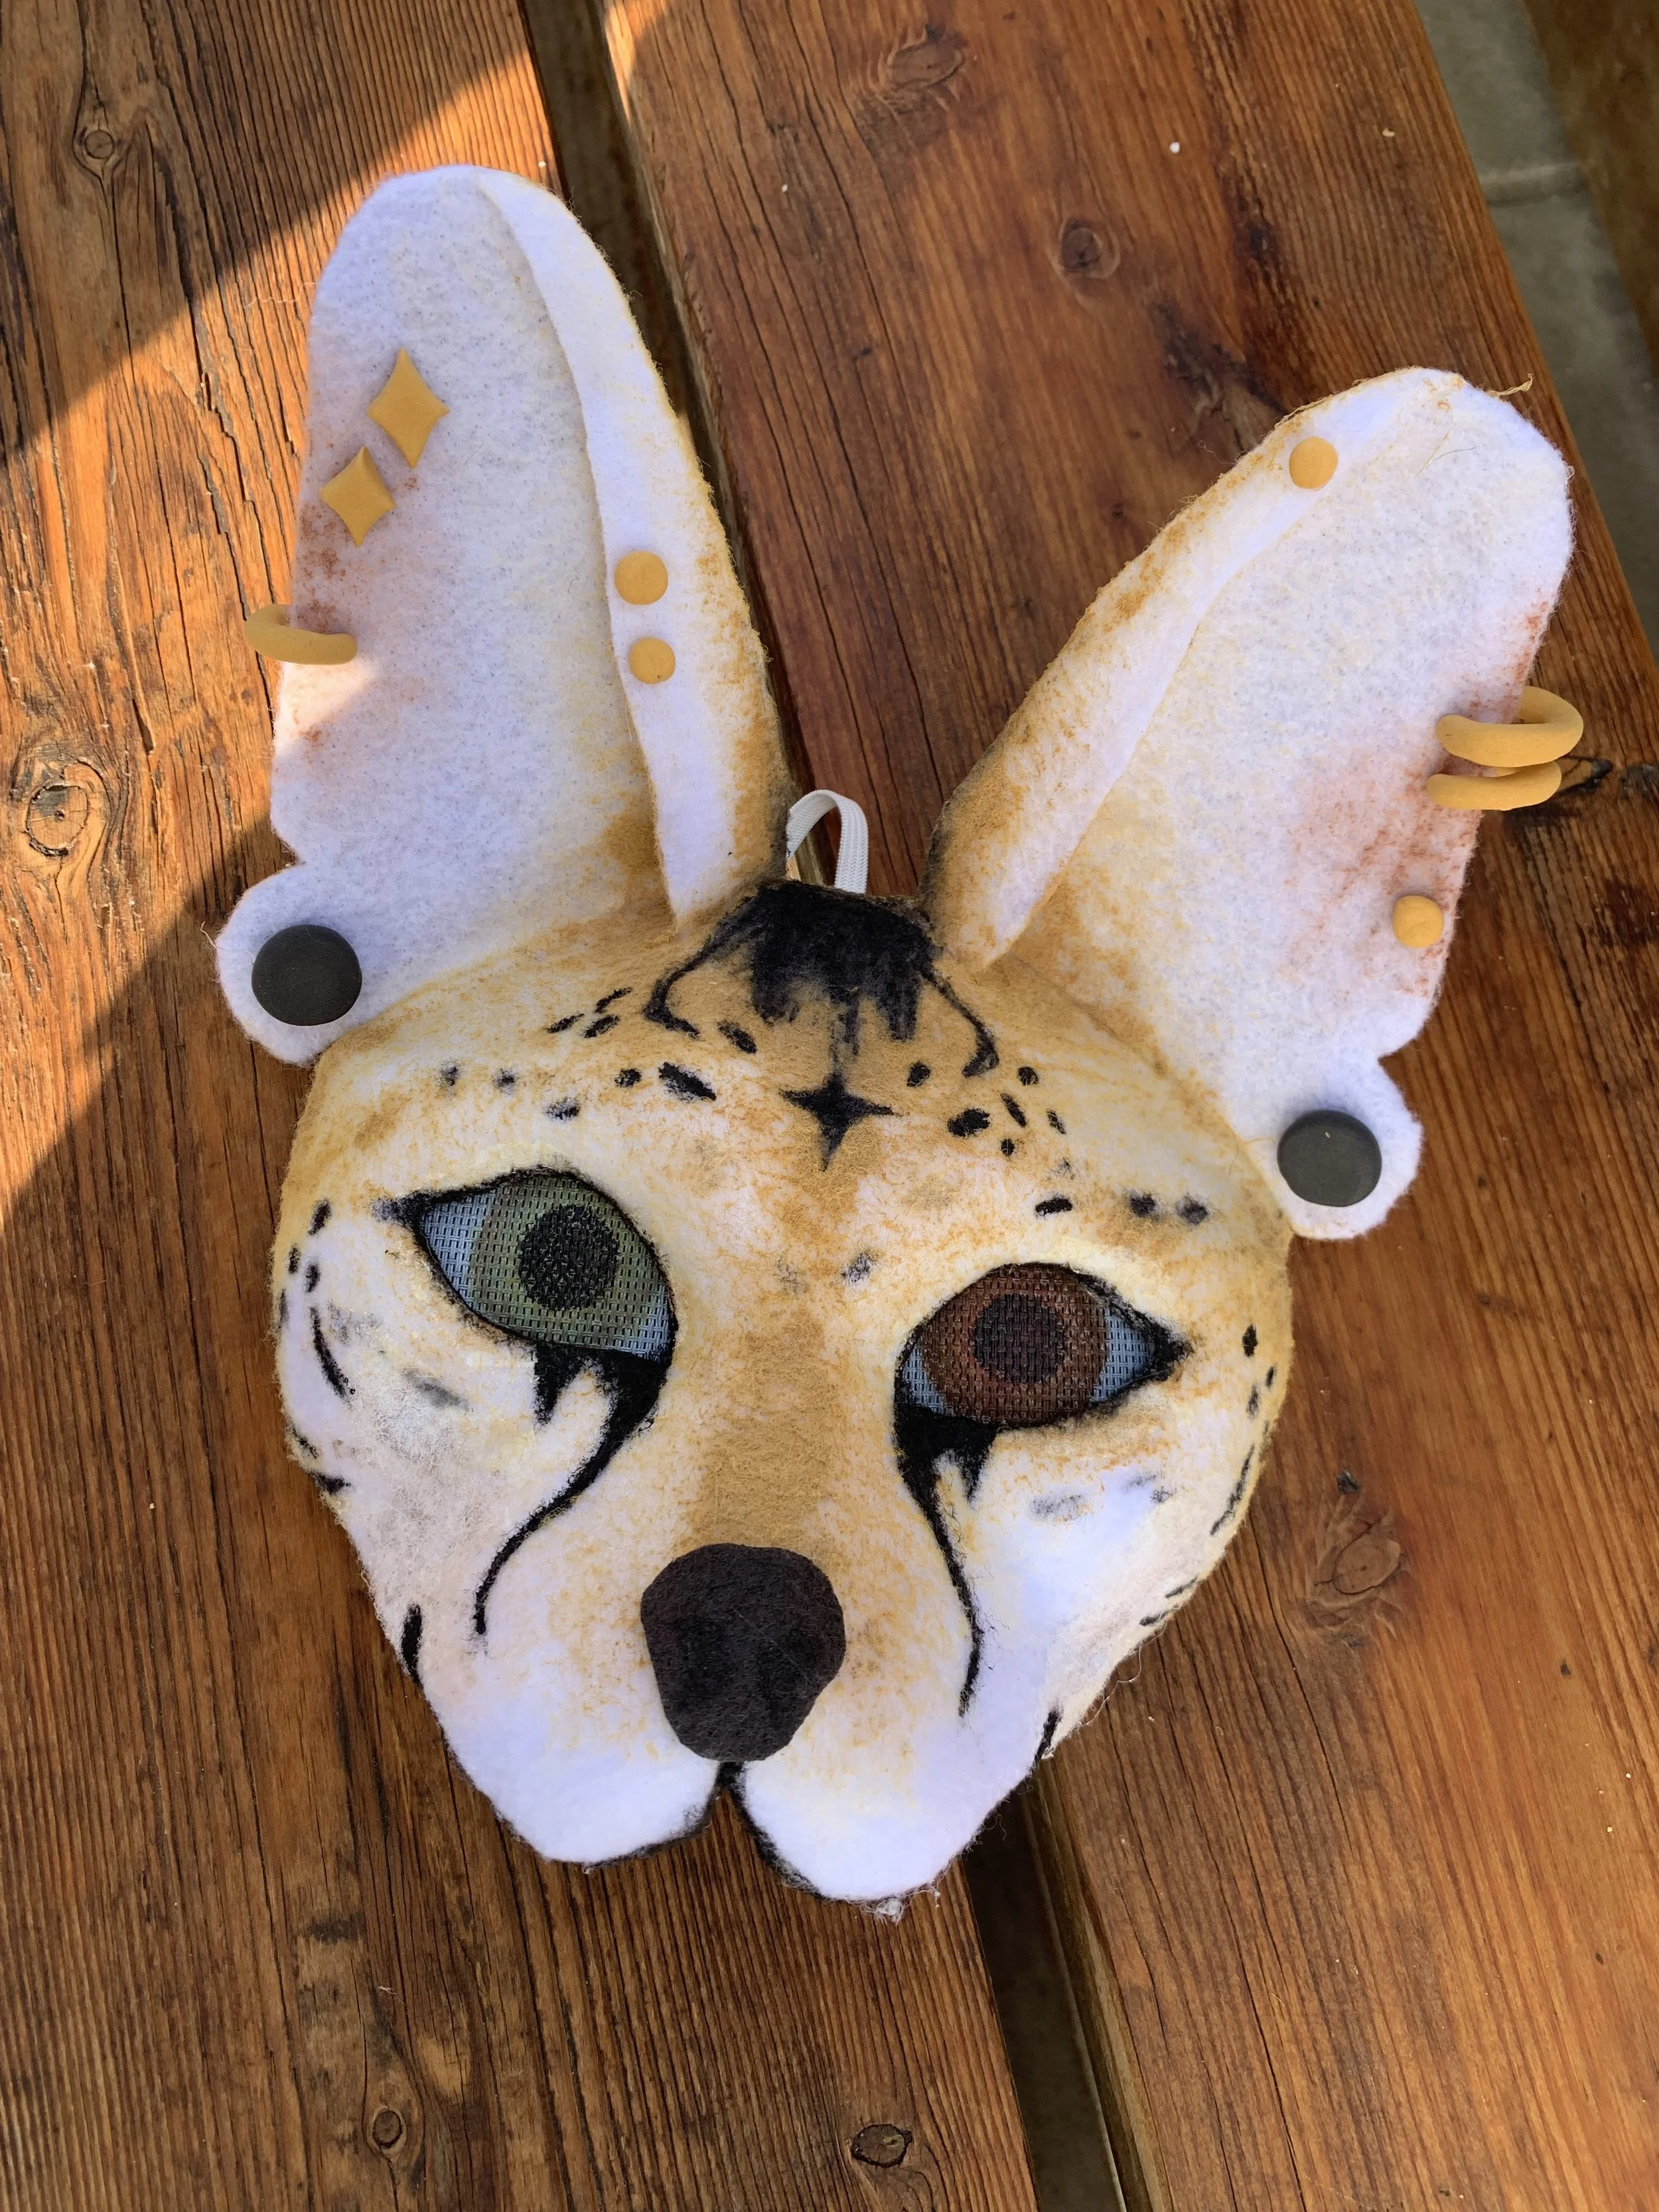
I’ve always loved making masks, it’s my main focus whenever I have a chance. Because of it, when I have friends that appreciate a gift like that, I’ll put in the work to make it. For one of my friends’ birthdays, I started working a few weeks ahead of time to create this serval-based mask. I started with a cardboard base, using old boxes to build the base of the mask. I used a mixture of cardboard and foam air-dry clay to add details.
Once the base was completed, I used white craft felt and hot glue to attach it down over the entire base, making sure to fold over edges for a cleaner look. I cut out the eyes and felted the ears. With the felting complete I moved on to painting. Using photo references of servals (a kind of large cat), I used acrylic paint to add detail and color.
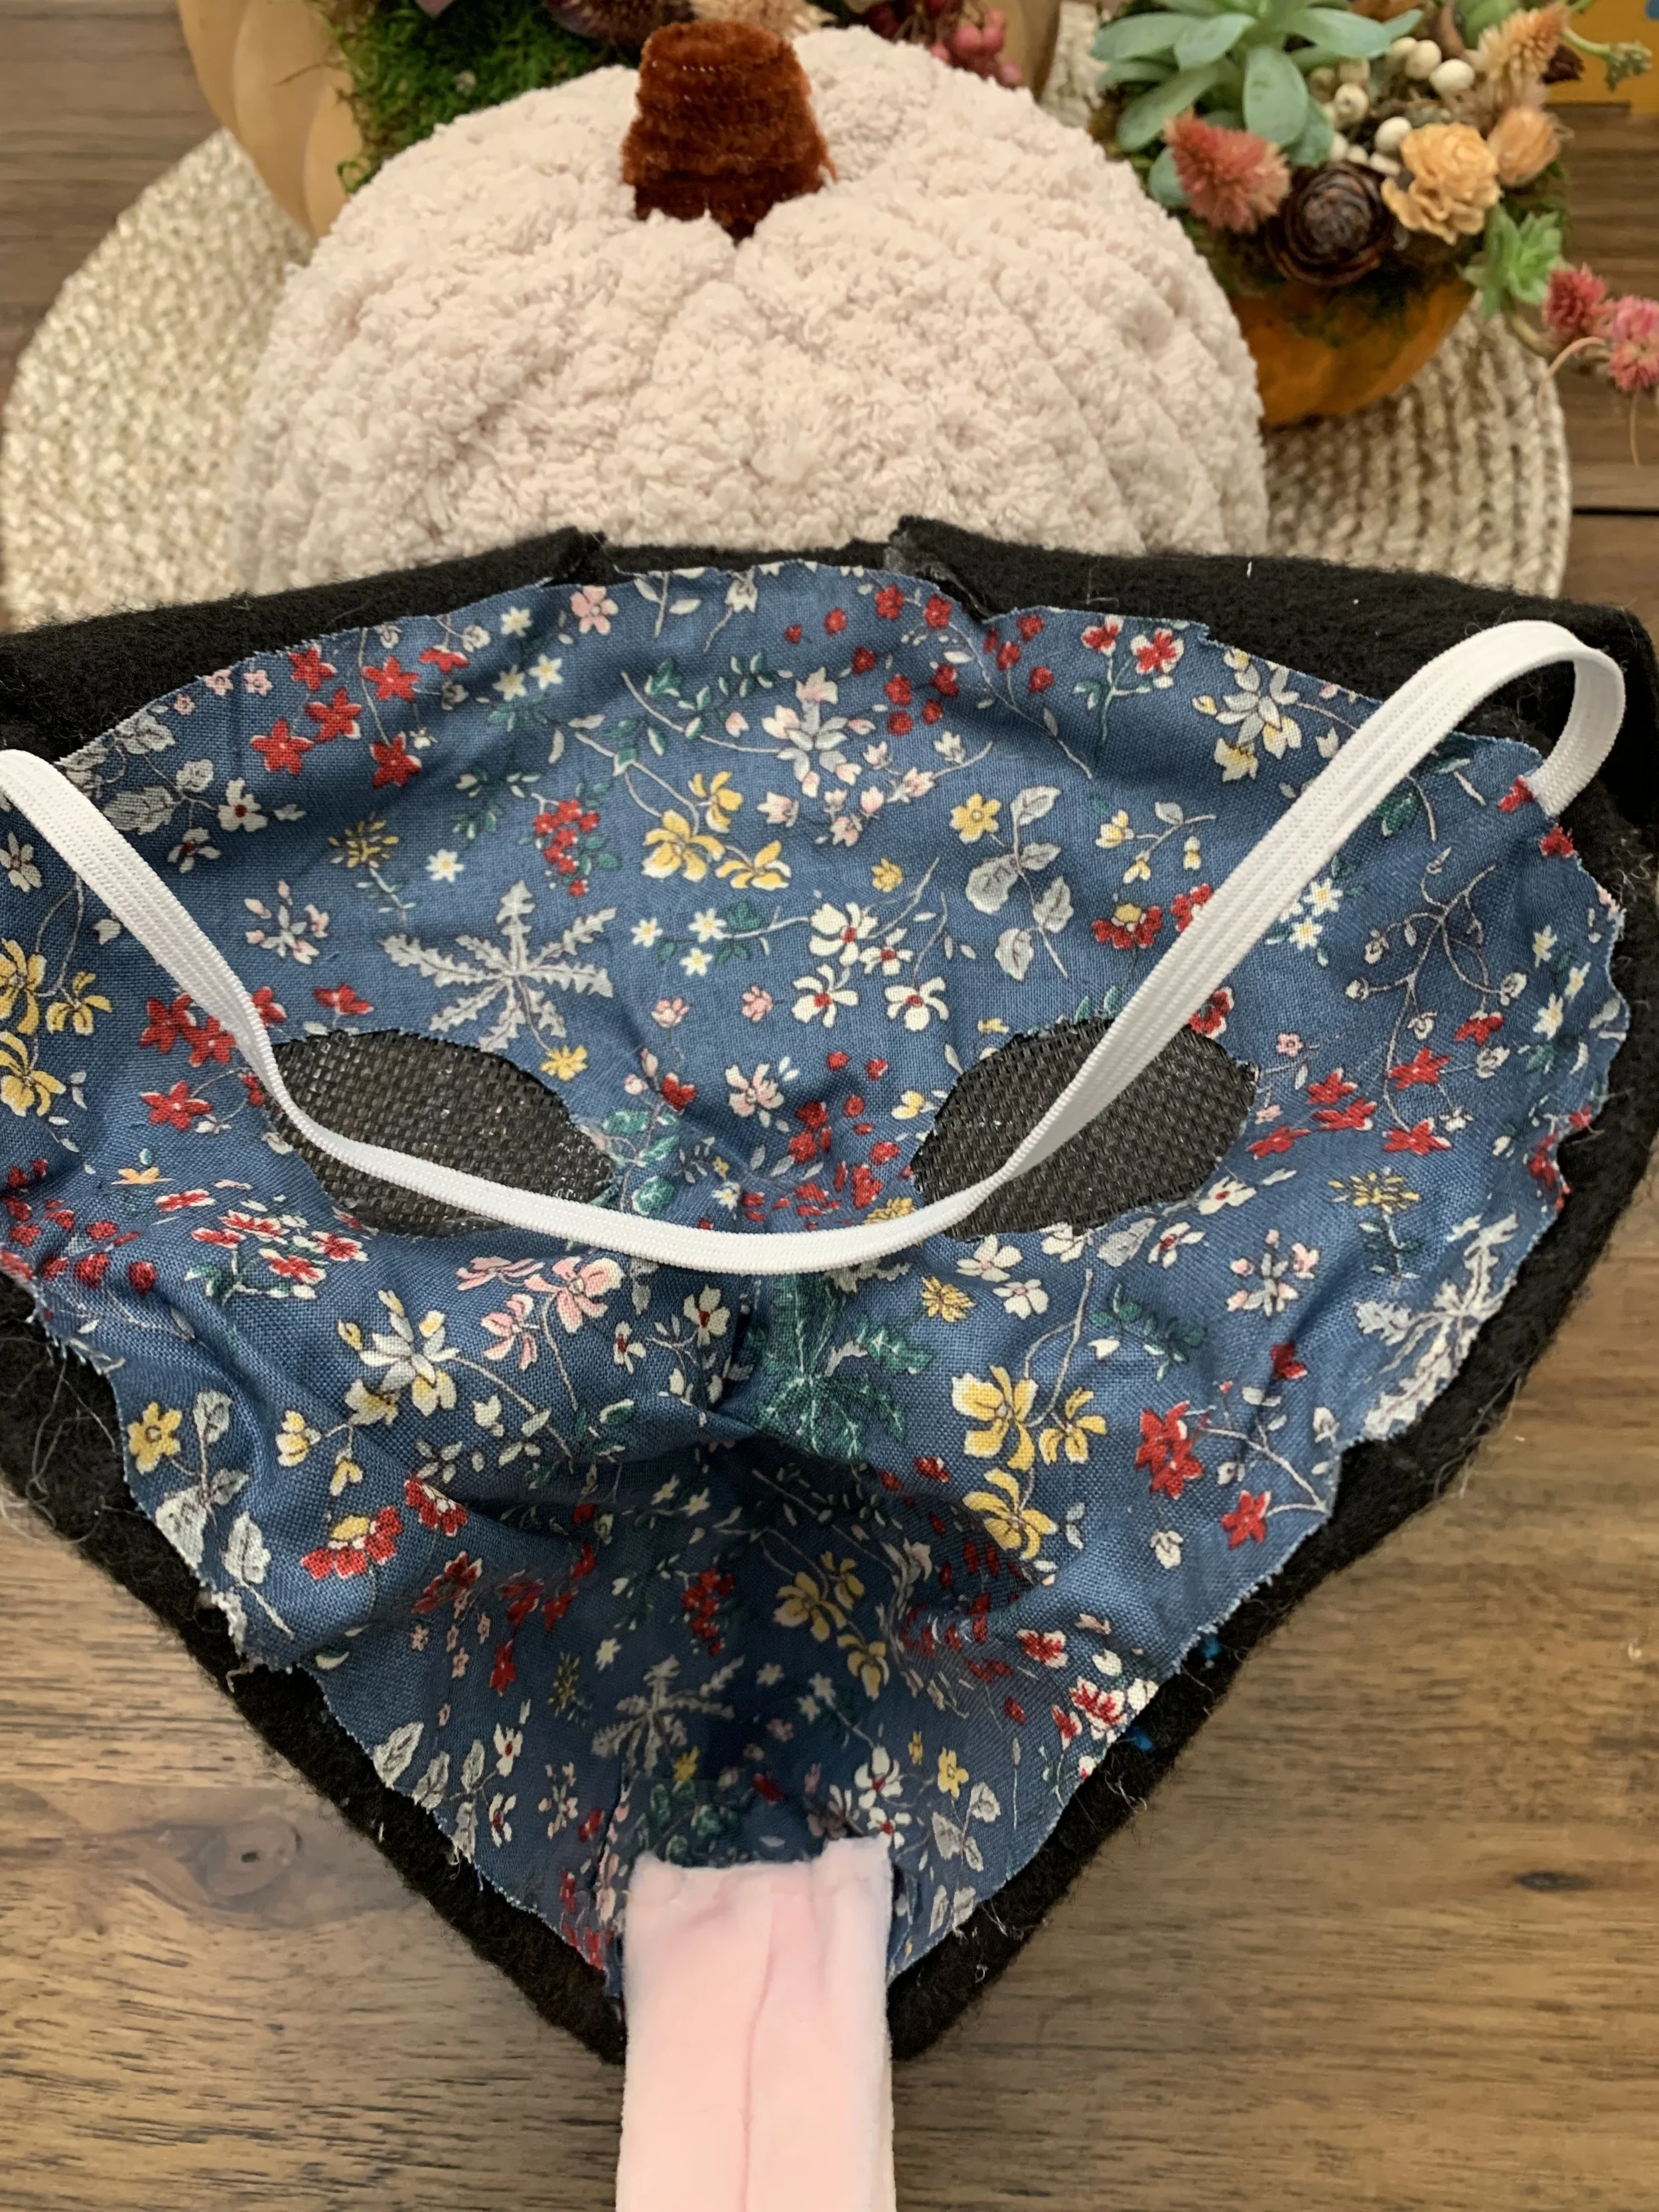
I added smaller details like earrings or a nose with scraps of more felt or clay. Then using soft foam around an inch thick, I padded the inside and shaped it for comfortability using scissors and box cutters. The last step was taking fabric and lining the inside of the mask to cover any bare cardboard or foam. This was pretty easy using hot glue and once it was done, I had a finished mask. Ready to be gifted to my friend.
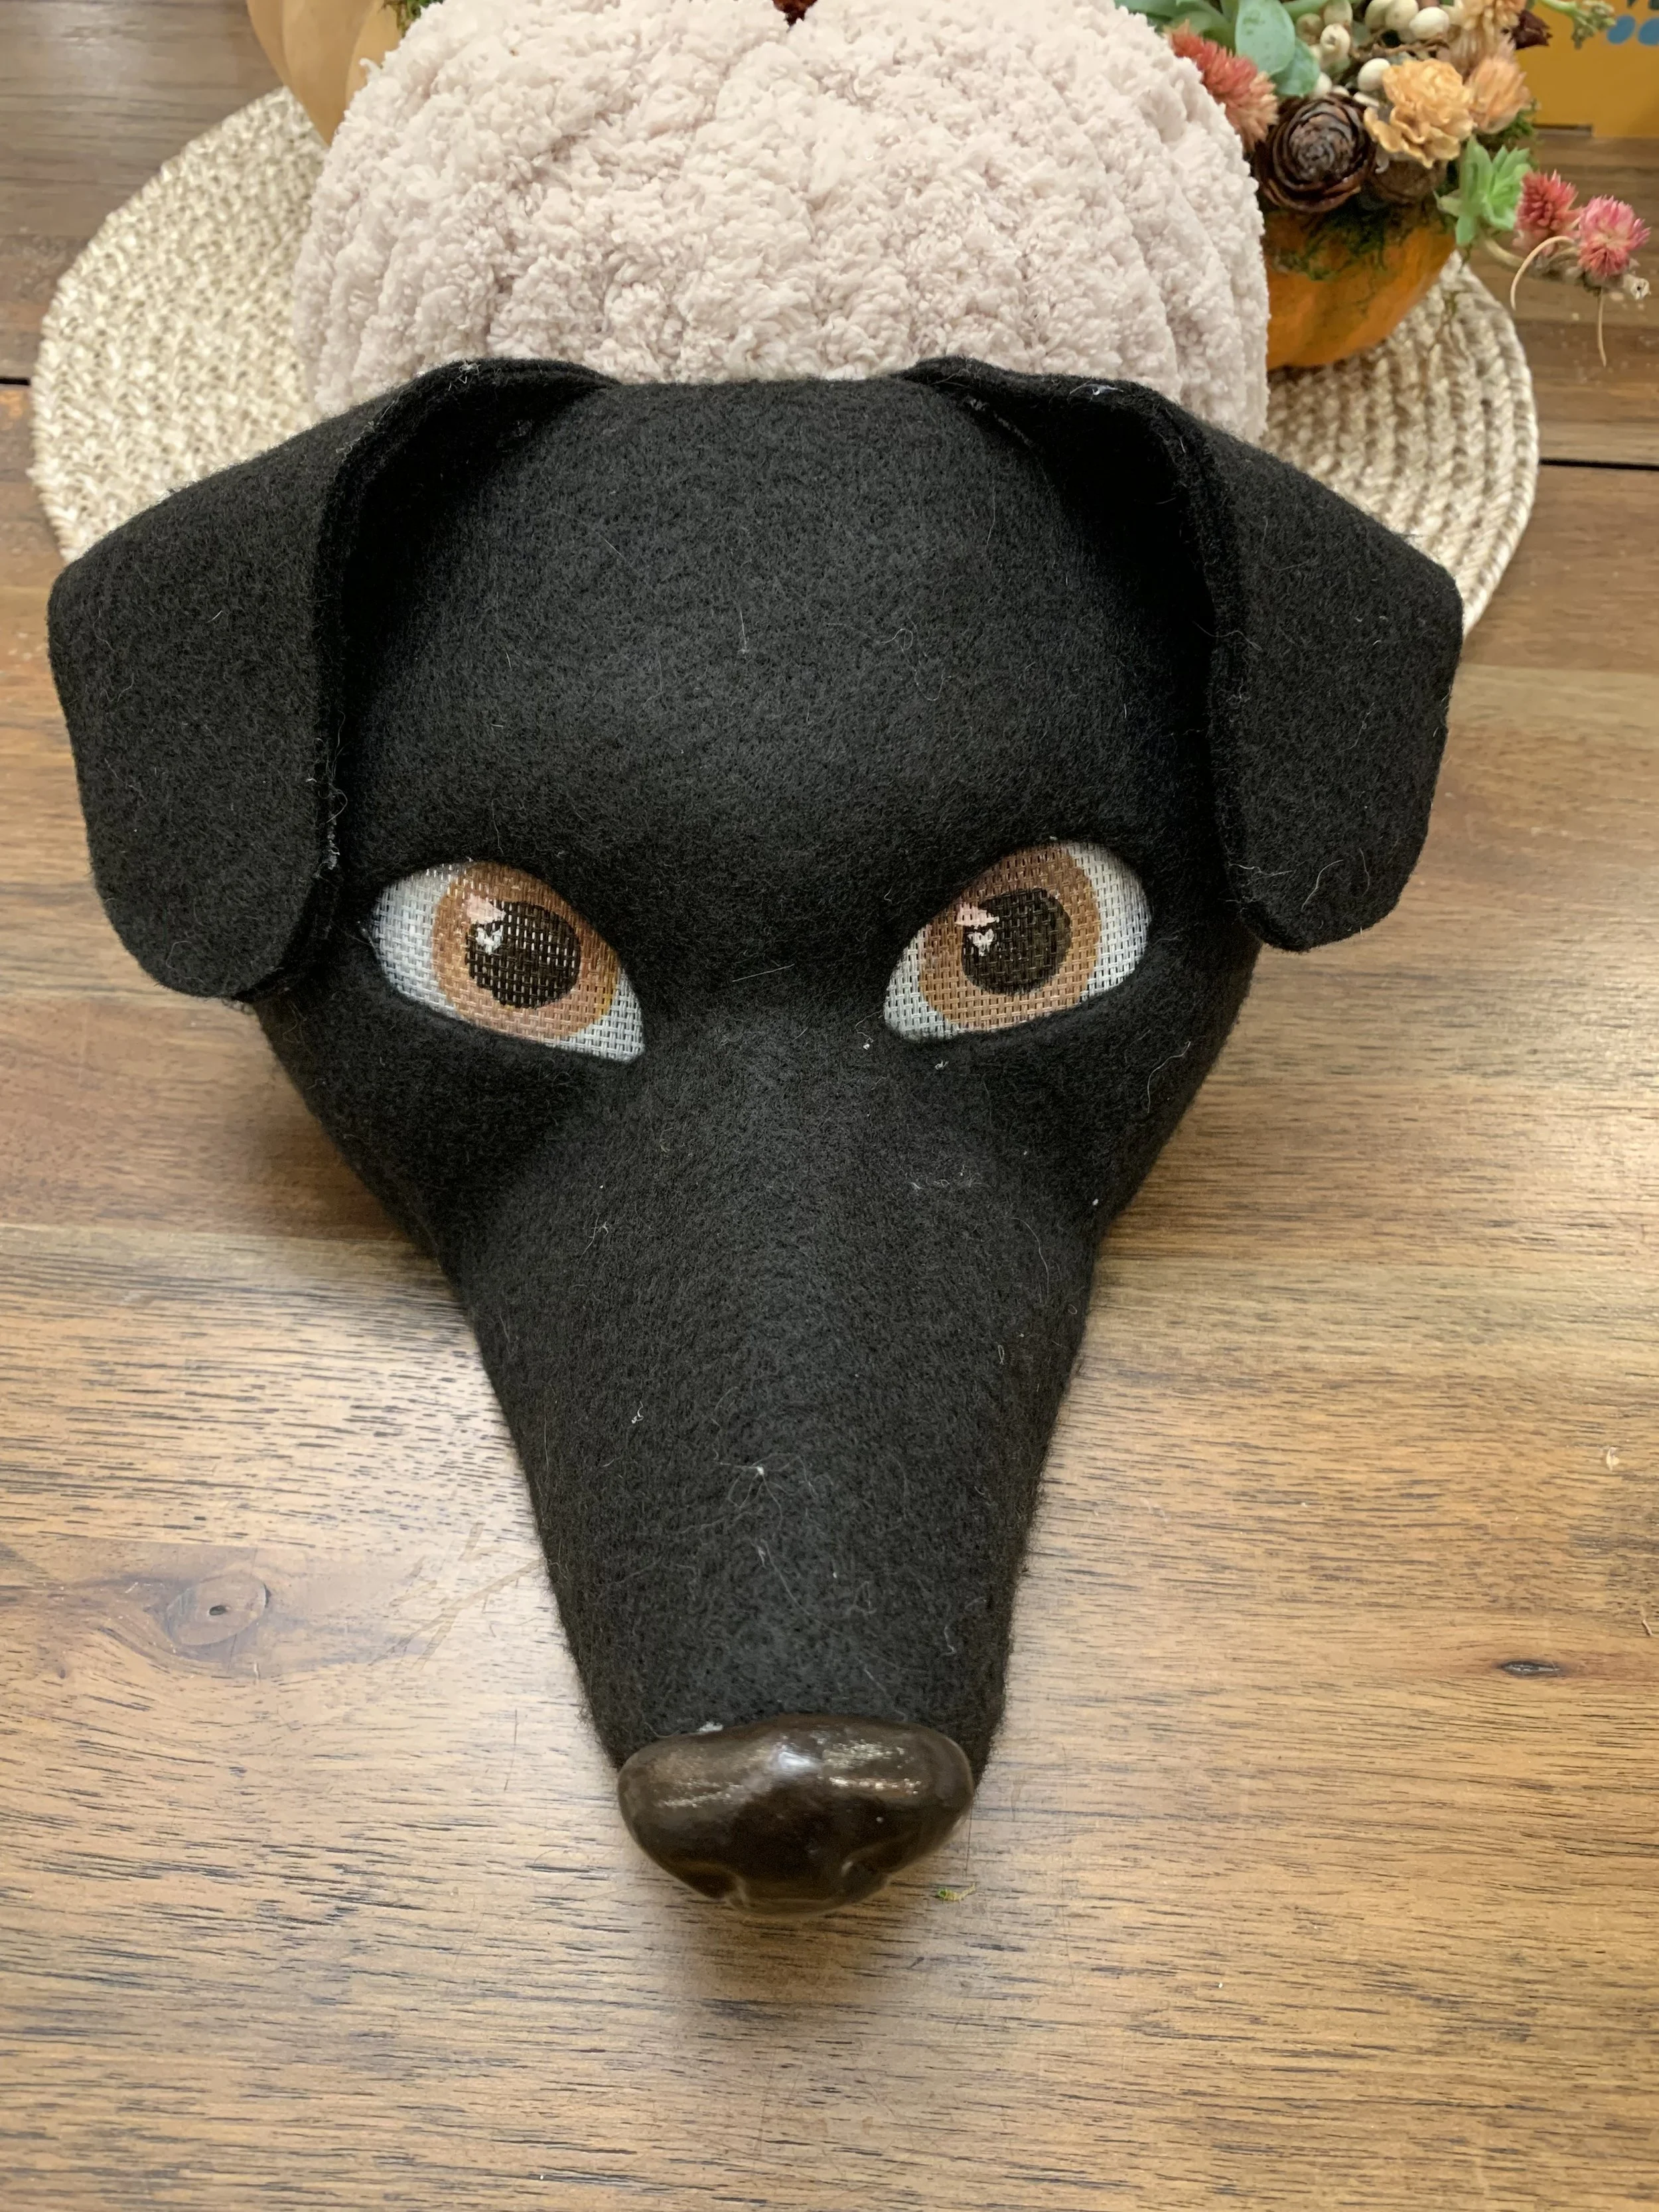
The process for the other mask was very similar, but a lot easier since there was no need for so much detail in patterns and was also a gift for a friend.
The Material
To create both of these masks, I used a lot of cardboard from spare boxes. The entire base and bare bones of it was made with simply cardboard. I shaped the mask using air-dry foam clay to build light weight bulk and smooth out shapes. The actual color was painted onto white craft felt using acrylic paint. Any accessories are made of the same air-dry clay, and the eyes are made of sections of window mesh, recycled from an old used roll. The inside is lined with soft foam and fabric.